
In this article we will go through the steps to learning the classic Snakeboard movement. If you haven't already please check out Part 1 where you will learn the simplest way to get your Snakeboard moving. Follow this tutorial when you are comfortable with the front foot carve described in part one.
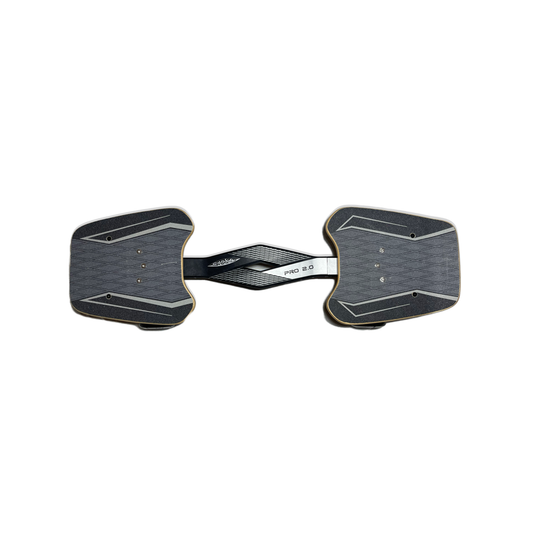
1. The Two Foot Carve
The key to the full Snakeboard movement is adding in your back foot. This is the power move that will get you picking up speed, flying up hills and pulling those deep snowboard style carves back down them.
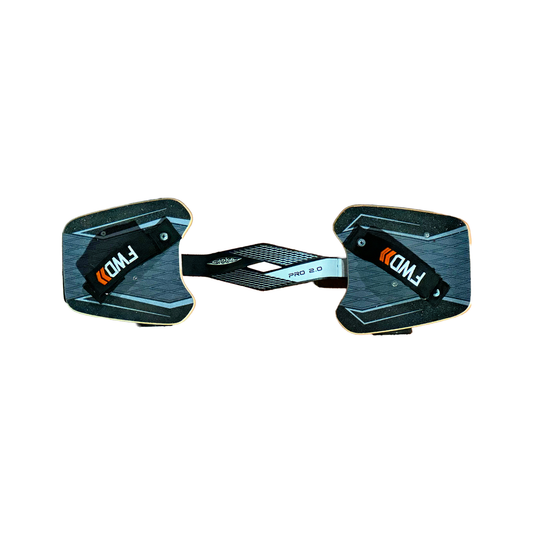
2. Toe In, Toes Out
The move that you want to practice is as you lean on your front foot, turn your toes in on both feet. Then as you lean on your heel on your front foot, open your toes on both feet.
3. Move Like a Snake
The over exaggerated movement that you are going for is a full 90 degrees turn to your toe side, followed by a full 90 degrees turn to your heel side. Moving across the floor like a Snake: hence the name.
4. Its all in the Shoulders
Moving your feet alone will not power you along, its your upper body that will get you speeding along. With each toe in and toe out movement, make sure your front shoulder is following your front foot: So as your toes turn in, lean you shoulder inwards. Then lean your front shoulder outwards as you open your toes.
5. Practice, Practice, Practice.
These steps are the key steps to getting the Snakeboard movement down. It may seem unnatural at first but the key is practicing moe regularly in your first weeks to really engrain that muscle memory. In no time you'll be carving deeper than ever before!